Blood Glucose Meter Rundown
Written by: Beyond Type 1 Editorial Team
3 minute read
March 30, 2016
And we all know what we need to do: know our numbers and keep them in safe ranges. In order to accomplish this, we depend on the blood glucose meter, which measures and displays the amount of sugar (glucose) in your blood.
Note: This is part of our library of resources for Tools and How-to Guides.
We all know what type 1 diabetes (T1D) can do: wreck havoc on our nerves, eyes, heart, blood vessels and kidneys. And we all know what we need to do: know our numbers and keep them in safe ranges. In order to accomplish this, we depend on the blood glucose meter, which measures and displays the amount of sugar (glucose) in your blood.
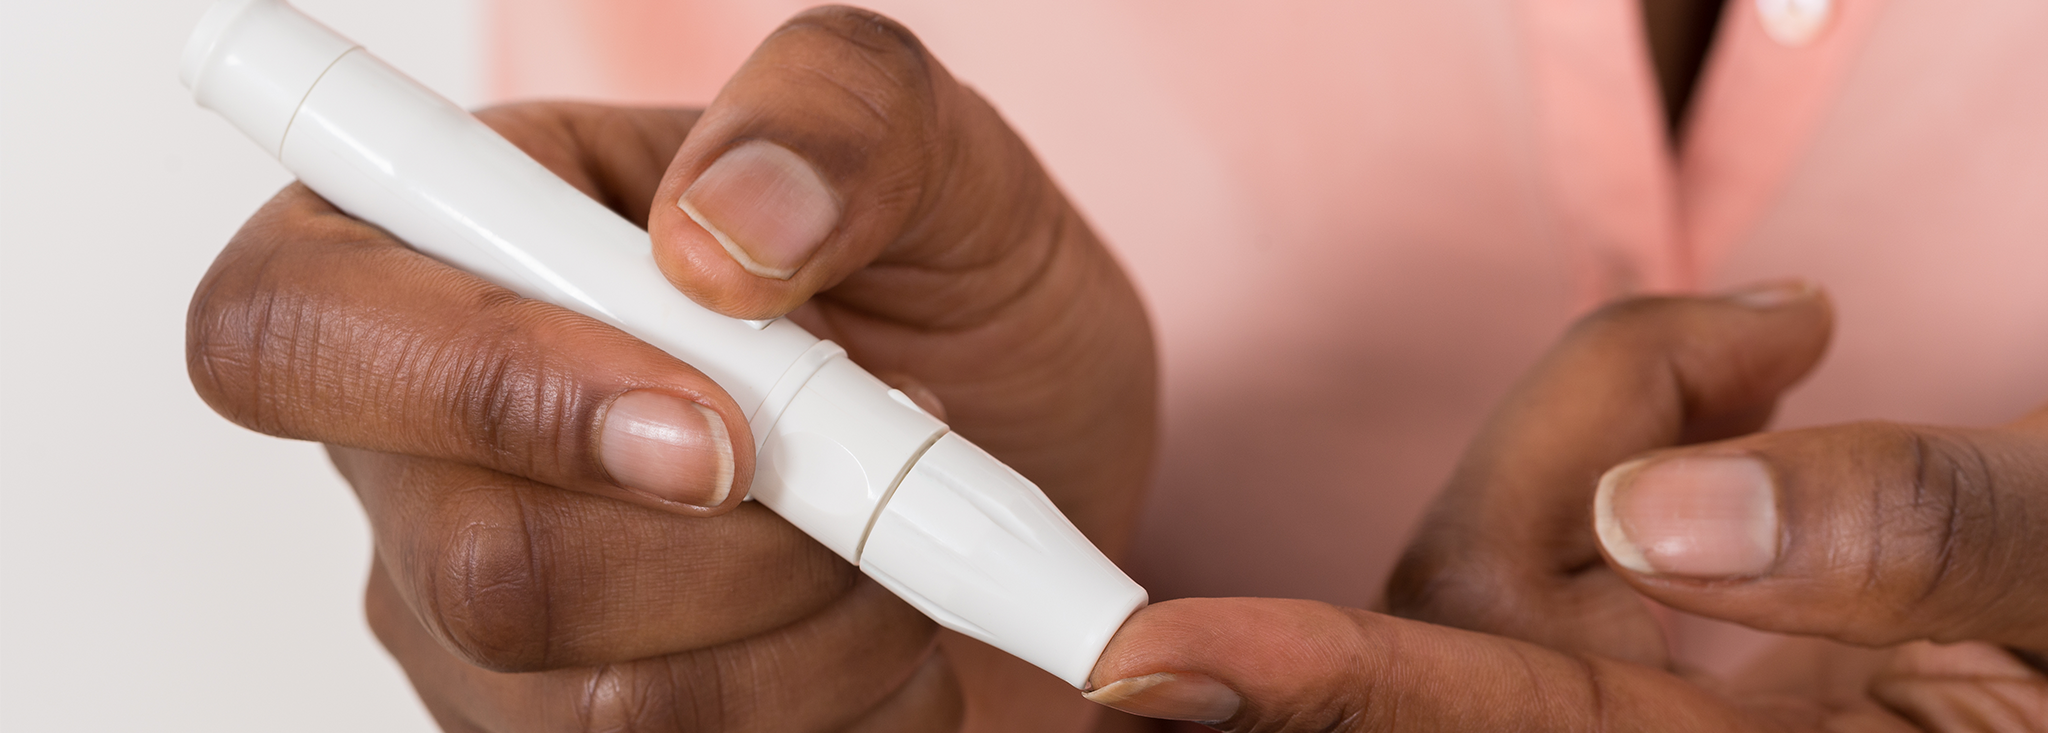
With most models, you insert a test strip into the meter. Then you prick a fingertip with a special needle called a lancet. Once you touch a drop of blood to the test strip, the meter starts processing your results. Generally you’ll know your blood glucose level within five seconds, and federal requirements ensure a degree of accuracy in those numbers. Current Food and Drug Administration standards, for instance, require meter results to be within 15 percent of actual blood glucose levels, as they’d be read in a lab.
But the landscape of blood glucose meter options alone can be overwhelming—in 2016, there were already 94 different models, and the market is growing.
Now that we know a little about what meters do and how they work, lets start exploring which meters are available and what routines they fit. This last part is particularly important. Like any other extension of your lifestyle—a car, a gym, a neighborhood—your meter should fit you. For example, some meters can wirelessly send data to other devices. Other meters utilize a cellular connection to push data into your cloud. Other meters can communicate with your insulin pump and measure ketones in blood as well.
Cost
Instead of focusing on the price of the unit itself (most meters range from $10 to $75), consider the annual costs of test strips for a unit. A batch of 100 test strips can run anywhere from $30 to $170 depending on the brand. If you test yourself four times a day, test strips can add up to $2,410 per year, according to Consumer Reports magazine.
Start by consulting your insurer. Medicare covers some diabetes-related supplies, and Canada’s governmental healthcare differs providence by providence. Private insurance often offsets costs. For a T1D patient, a health plan may very well cover part of the meter price and a majority of the costs of test strips as well.
Meter size
Meters come in a variety of sizes and shapes. If you plan to test multiple times a day and are often on the go, you might want a smaller model you can tuck in a bag, purse, or glove box. Older users, or users with visual impairment, might want to invest in a larger meter with bigger buttons and an easier-to-read display screen or a backlit screen. If you plan to only test at home, you might consider a monitor that stores multiple strips. With these you don’t need to load a new strip every time you go to test, but the models do tend to be bulky and expensive.
Coding
Meters need to be calibrated to each batch of test strips you buy. Some units require you to enter a code or scan it with a smart phone. Improper inputting can lead to inaccurate results. Other units use a removable chip that you insert into the test strip slot to calibrate. Automatic calibration makes things a little easier, so keep an eye out for that feature when selecting a unit.
Data storage
Another benefit of a meter is that it allows you to track your results over time and modify your diabetes therapy accordingly. The amount of storage you’ll want in a unit depends on how often you measure and often you or your health providers plan to review data. If you measure four times a day, and your provider wants to see an entire month of results, you’ll need a meter that can retain data from at least 120 tests. Most top models hold a minimum of 360 readings, and many include a meal marker feature that allows you to add notes about when you tested in relation to food consumption or to exercising. Data can be downloaded via a USB connection or wirelessly through Bluetooth technology. Some meters are compatible with mobile apps, allowing for data tracking on your smart phone.
Usage Tips
Proper usage is just as important as picking out the right meter for you.
It’s important to use the correct test strips for your model. Using different strips, even though they may fit, can produce faulty results.
Test from your fingertips. Some models allow you to test from different areas, such as the forearm, but those results aren’t generally as accurate.
Make sure to wash your hands before testing. Even a little sugar, dirt, or food on your finger can wildly throw off results. Washing with warm water and drying after has the side benefit of drawing blood into your fingertips, which will make producing a drop of blood after pricking your finger even easier.
While anyone with diabetes benefits from testing, blood glucose monitoring is particular important for people with T1D who are in steady need of insulin. Exercise, stress, medication and diet all influence your blood glucose levels, and a blood glucose meter can be a key tool in managing your care and preventing complications.
Learn All about Insulin Pumps.


Author
Beyond Type 1 Editorial Team
Beyond Type 1 is the largest diabetes org online, funding advocacy, education and cure research. Find industry news, inspirational stories and practical help. Join the 1M+ strong community and discover what it means to #LiveBeyond a diabetes diagnosis.
Related Resources

Having type 2 diabetes (T2D) means being prepared—not only for the day-to-day challenges but also,...
Read more

Did you know you don’t necessarily need a prescription to get some diabetes supplies? Whether...
Read more
We’ve all heard it before—it’s important to test our blood sugar to manage type 2...
Read more